Are you tired of spills and messes ruining your meals and drinks? Look no further than this DIY project! In this tutorial, we'll show you how to build an unspillable tray using easy-to-find materials and simple techniques. With Nathan's help, you'll be able to create a sturdy and stylish tray that's perfect for carrying drinks, snacks, and other items without worrying about spills. Whether you're hosting a party, having a picnic, or just looking for a fun project to do with friends, this tutorial is sure to inspire you to get creative and build something amazing!

Building your own unspillable tray can be a fun and practical DIY project that can be completed in just a few simple steps. The unspillable tray is a great accessory to have around the house or office, as it provides a stable surface for holding drinks, snacks, and other items, without the risk of spills or messes.
To 3D print and design an unspillable tray, you will need access to a 3D printer and 3D modeling software. Here are the steps you can follow:
1. Design the tray: Open your 3D modeling software and create a 3D model of the unspillable tray. You can start with a simple rectangular or circular shape, and then add features such as raised edges or a non-slip surface. Make sure to design the tray to the appropriate size for your 3D printer.
2. Export the design: Once you have finished designing the tray, export the design file in STL format, which is the file format commonly used for 3D printing.
3. Prepare the 3D printer: Turn on your 3D printer and prepare the printing bed with a layer of adhesive, such as painter's tape or a special 3D printing adhesive. Load the 3D printer with the appropriate filament, such as PLA or ABS.
4. Print the tray: Use your 3D printing software to load the STL file and begin the printing process. The printer will create the tray layer by layer, following the design you have created.
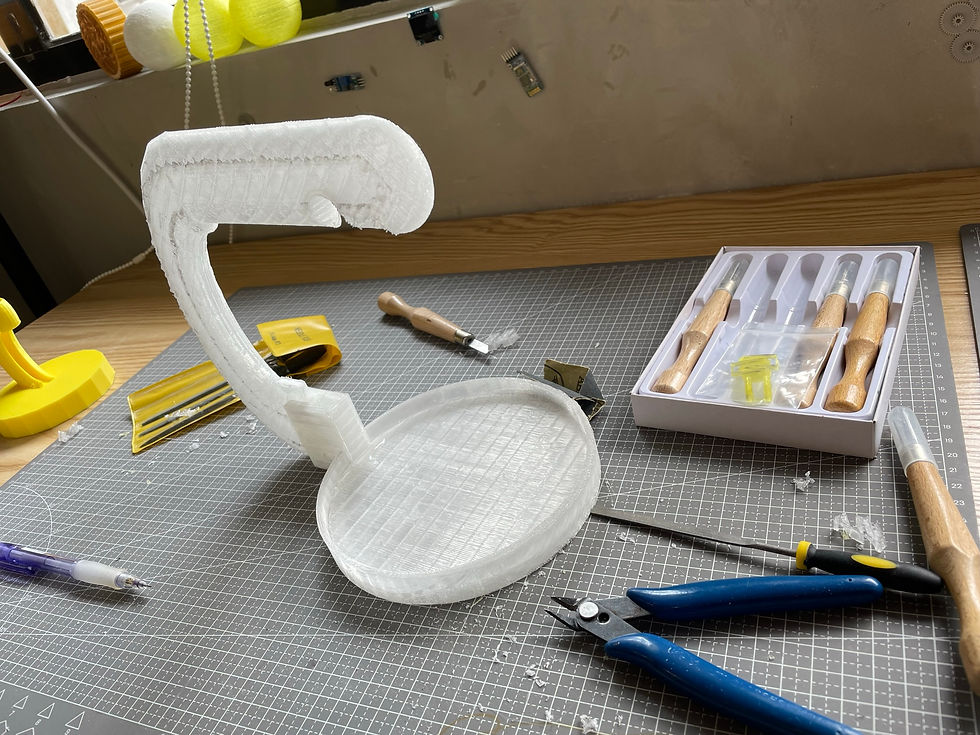
5. Post-processing: Once the printing is complete, remove the tray from the printer and remove any support structures that were created during printing. You can also sand any rough edges or surfaces to smooth them out.
6. Enjoy your unspillable tray: Your 3D printed unspillable tray is now ready to use! Place it on a stable surface and fill it with snacks, drinks, or other items that you want to keep from spilling.
By following these steps, you can create a custom-designed unspillable tray using a 3D printer and your own creativity.
Conclustion
And there you have it - a simple and effective unspillable tray that you can use to carry drinks, snacks, and other items without worrying about spills. We hope you enjoy this project and find it useful for your next picnic, party, or gathering!
Comments